

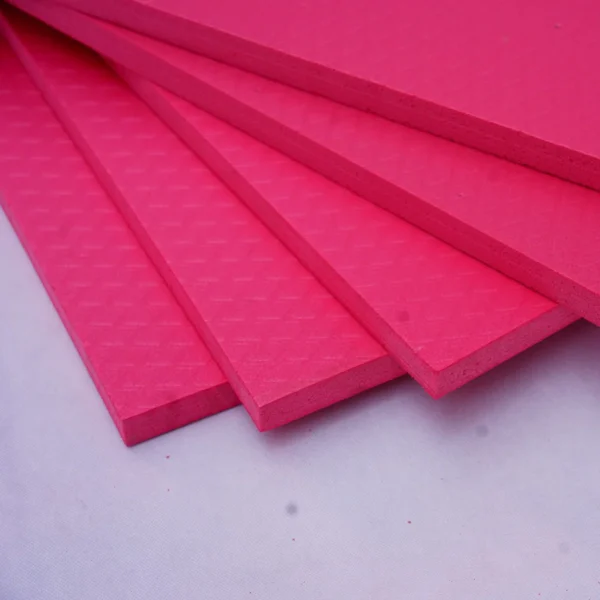
DPC Waterproofing Sheet – Flexible Bituminous Damp Proofing Roll
DPC Waterproofing Sheet (Damp Proof Course) is a flexible bituminous membrane used in construction to prevent rising dampness from the foundation or ground level into the walls of a building. It forms a continuous barrier that protects structures against moisture, groundwater, and capillary action.
Manufactured using reinforced bitumen, the DPC sheet is widely used in residential, commercial, and industrial buildings in Pakistan. It comes in standard roll sizes, is easy to install, and offers long-term waterproofing protection under walls, columns, and plinth beams.
🔧 Key Features:
-
💧 100% Waterproof – prevents rising dampness
-
🧱 Ideal for foundations, walls & plinth beams
-
🧰 Easy installation – roll, cut & lay
-
🔥 Heat and weather resistant
-
🚧 High tensile strength and flexibility
-
💲 Cost-effective damp proofing method
-
♻️ Environment-friendly & non-toxic
📐 Available Sizes & Thicknesses AND Prices :
| Width | Length | Thickness | Roll Coverage | Price (PKR) |
|---|---|---|---|---|
| 9 inch | 50 ft | 2 mm | 50 Rft | Rs 3500 |
| 12 inch | 50 ft | 2 mm | 50 Rft | Rs 4500 |
| 18 inch | 50 ft | 2 mm | 50 Rft | Rs 5500 |
Thicker variants (3mm or 4mm) available upon request.
🏗️ Applications:
-
Under wall foundations (Damp Proof Course)
-
Beneath plinth beams and load-bearing walls
-
Moisture barrier in toilets, kitchens, and wet areas
-
Concrete slab waterproofing
-
Cold storage and warehouse flooring
🛠️ How to Install DPC Waterproofing Sheet (Bitumen Roll Type)
✅ Materials & Tools Required:
-
Bituminous DPC sheet roll (2mm or 3mm)
-
Cutter or knife
-
Blow torch or gas burner
-
Wire brush or broom
-
Cement mortar or sand-cement paste (optional)
-
Gloves and safety gear
🧱 Step-by-Step Installation Guide:
Step 1: Surface Preparation
-
Ensure the concrete surface or plinth beam is clean, dry, and smooth.
-
Remove dust, loose particles, and oil using a broom or wire brush.
-
If the surface is uneven, level it with a thin layer of sand-cement mortar and let it cure properly.
Step 2: Cut the Sheet
-
Measure the width of the wall or beam.
-
Cut the DPC sheet from the roll using a sharp knife or cutter according to the required width + 1–2 inches overlap for jointing.
Step 3: Heat Activation (if required)
-
For torch-applied bituminous DPC sheets, lightly heat the underside of the sheet using a gas burner/blow torch until it becomes sticky.
-
Alternatively, you can also apply hot bitumen coating on the surface before laying a cold-applied sheet.
Step 4: Lay the Sheet
-
Carefully place the sheet over the prepared surface.
-
Press it down gently to ensure full contact with the concrete surface and remove any air bubbles.
-
Overlap joints by at least 4 to 6 inches, and heat the overlapped area to ensure bonding.
Step 5: Protect & Proceed
-
Once the DPC sheet is laid, allow it to cool and set.
-
Do not puncture the sheet.
-
Begin brickwork or wall construction directly on top of the DPC layer after installation.
⚠️ Important Tips:
-
Ensure no holes or tears occur during installation.
-
In cold weather, warm the sheet slightly before unrolling for better flexibility.
-
Store rolls in a dry, shaded area, away from direct sunlight.


Reviews
There are no reviews yet.